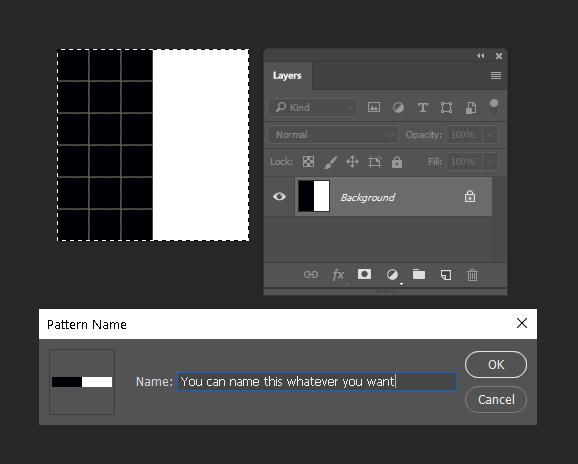
Printer’s Guide to Lenticular Printing
The World’s Best Lenticular Printing Company
PETER GROCHOWSKI
ViCGI
August 10, 2022
As a printing professional, you may be familiar with the concept of lenticular printing. While attending trade shows, you may have come across lenticular printers from abroad. Occasionally, you might receive inquiries from customers regarding your ability to provide lenticular prints. If lenticular printing isn't your primary focus, you might have tried searching the internet, only to find that many providers act as intermediaries for offshore printers, resulting in high costs and extended lead times. This may lead you to wonder: Can I produce lenticular prints in-house? The answer is a resounding yes, and the process may be simpler than you imagine.
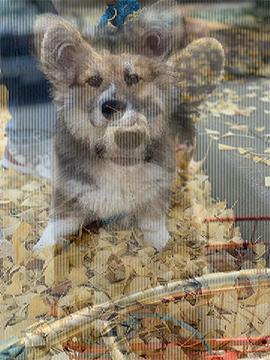
Lenticular printing employs specialized plastic sheets, known as lenticular sheets, featuring convex lenses that overlay interlaced printed images. This innovative technique creates the illusion of depth (3D) and dynamic visual changes when viewed from different angles, such as captivating animations.


The applications of an animated lenticular print are multifarious. For example, a poster with the before and after photos of plastic surgery, a vinyl record jacket with different artwork for side A and side B, a tradeshow display with pictures changing when the observers walk by, etc. The applications of 3D lenticular are also diverse; CD, DVD, and Blu-ray case cover, 3D movie advertising displays, for example.
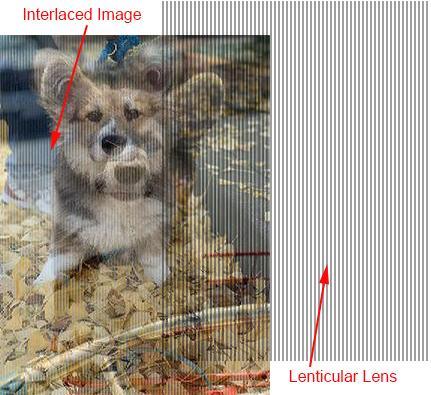
Within each lenticular print, whether it's a captivating animation or immersive 3D, lies a secret: the interlaced image. When this intricate image is carefully paired with a lenticular sheet and precisely aligned, it unlocks the enchanting world of animation or 3D effects. These effects come to life as distinct images reflect in various directions, creating a visual masterpiece.

Using a 2-image flip animation as an example, we will explain how to create an interlaced image.
To create a seamless 2-image flip animation with lenticular printing, it's crucial to grasp the fundamentals of interlaced images. Before diving into the process, it's essential to familiarize yourself with the specifics of the lenticular sheet you plan to use, particularly the viewing angle and line density.
Viewing Angle: The viewing angle is the degree at which an observer can transition from one image to another. For 3D effects, a smaller viewing angle is necessary to ensure distinct images for the left and right eyes. Conversely, animations benefit from larger viewing angles to create smoother transitions. Typically, 3D requires a viewing angle between 24 to 29 degrees, while animations thrive at around 45° to 50°. When purchasing lenticular sheets, communicate your intent to create either 3D or animation, even though you don't need to specify the exact angle.
Line Density: Line density is expressed in lines per inch (LPI) and plays a vital role in lenticular printing. However, it's important to note that declared LPI values may not always be exact due to manufacturing variations. For instance, a 60-LPI lenticular sheet might measure anywhere between 59.7 and 60.3 LPI due to production deviations. Similarly, a proclaimed 720 dpi printer may actually print at 719.8 dpi. To account for these uncertainties, a calibration process known as a pitch test is essential. This calibration ensures alignment between the lens and the printer, compensating for any errors before embarking on the creation of interlaced images.
Understanding these key factors is essential for achieving the desired results in lenticular printing, whether you're crafting mesmerizing 3D effects or captivating animations.
Here are the pitch test sheets ranging from 10 LPI to 80 LPI, designed for printing with your chosen printer intended for the interlaced image. Select the base value that corresponds to the LPI (Lenticules Per Inch) of the lens you plan to use. For instance, if you've acquired a 50 LPI lens, print the 50-LPI PDF. Please ensure not to adjust the scaling or print size during the printing process. If you require an LPI not included in the list, such as 55 LPI, please reach out to us, and we'll be happy to create a customized sheet for your needs.
| Line Per Inch | File Format |
|---|---|
| 10 | TiF, PDF |
| 20 | TiF, PDF |
| 30 | TiF, PDF |
| 40 | TiF, PDF |
| 50 | TiF, PDF |
| 60 | TiF, PDF |
| 70 | TiF, PDF |
| 75 | TiF, PDF |
| 80 | TiF, PDF |
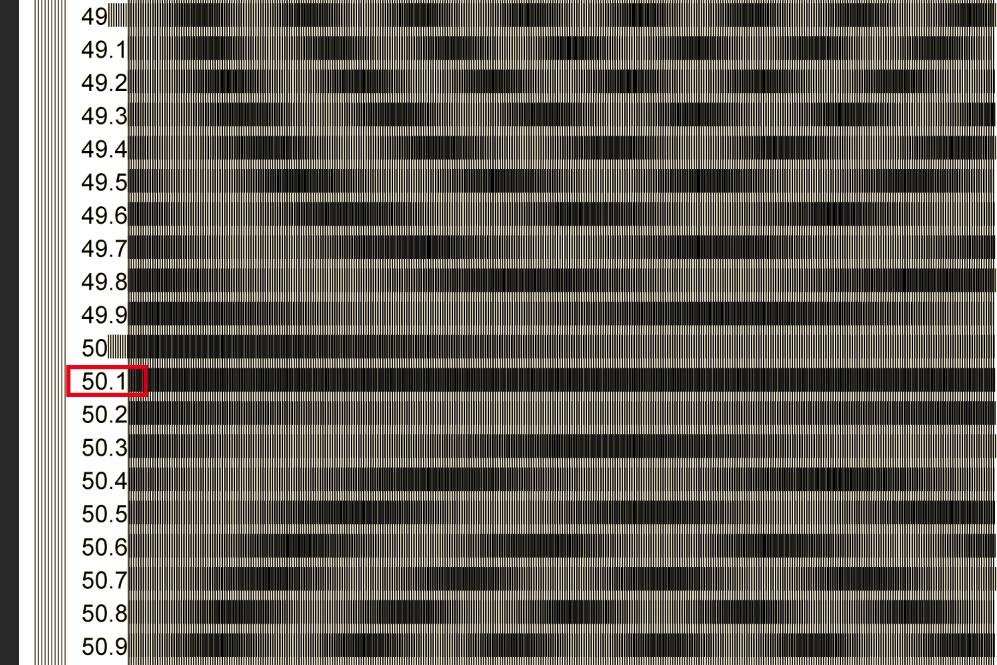
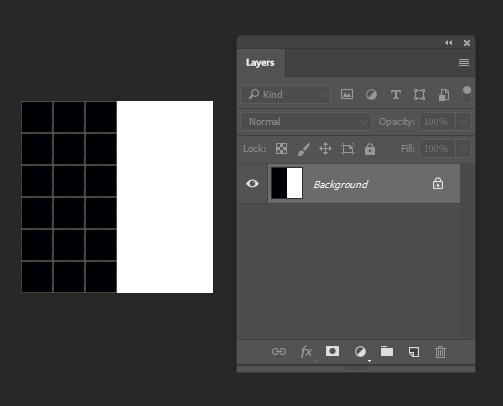
After printing, carefully place the lenticular sheet on top, ensuring it aligns perfectly with the vertical lines on the left side. Select the most suitable value adjacent to the fully solid band, like 50.1 in the diagram provided. It's important to note that this value is specific to your lenticular sheet and printer. It cannot be used as a universal measurement for other printers, as different printers may have varying true dpi values.
With the precise line density determined in the pitch test, we move on to crafting the interlaced image. Let's assume the true LPI is 50.1. Now, the crucial question arises: How many pixels should be placed under each lens or lenticule? While there isn't a fixed answer, a general rule of thumb is to ensure that when you multiply this number by the LPI, the result should be 300 or higher. In simpler terms, the smallest number of pixels should be the largest even integer that, when multiplied by the LPI, equals 300.
In the case of our 50.1 LPI, the calculation is 300 / 50.1 = 5.988. Rounding up to the next even number, we get 6. Therefore, we can allocate 6 or more pixels under each lenticule.
Why emphasize even numbers? Because these pixels need to be evenly distributed between two images. For instance, if you're working on a 3-image flip, you'd want a number divisible by 3. Coincidentally, 6 satisfies both the 2-image and 3-image flip scenarios. The diagram below illustrates the relationships among these numbers for clarity.
![]()
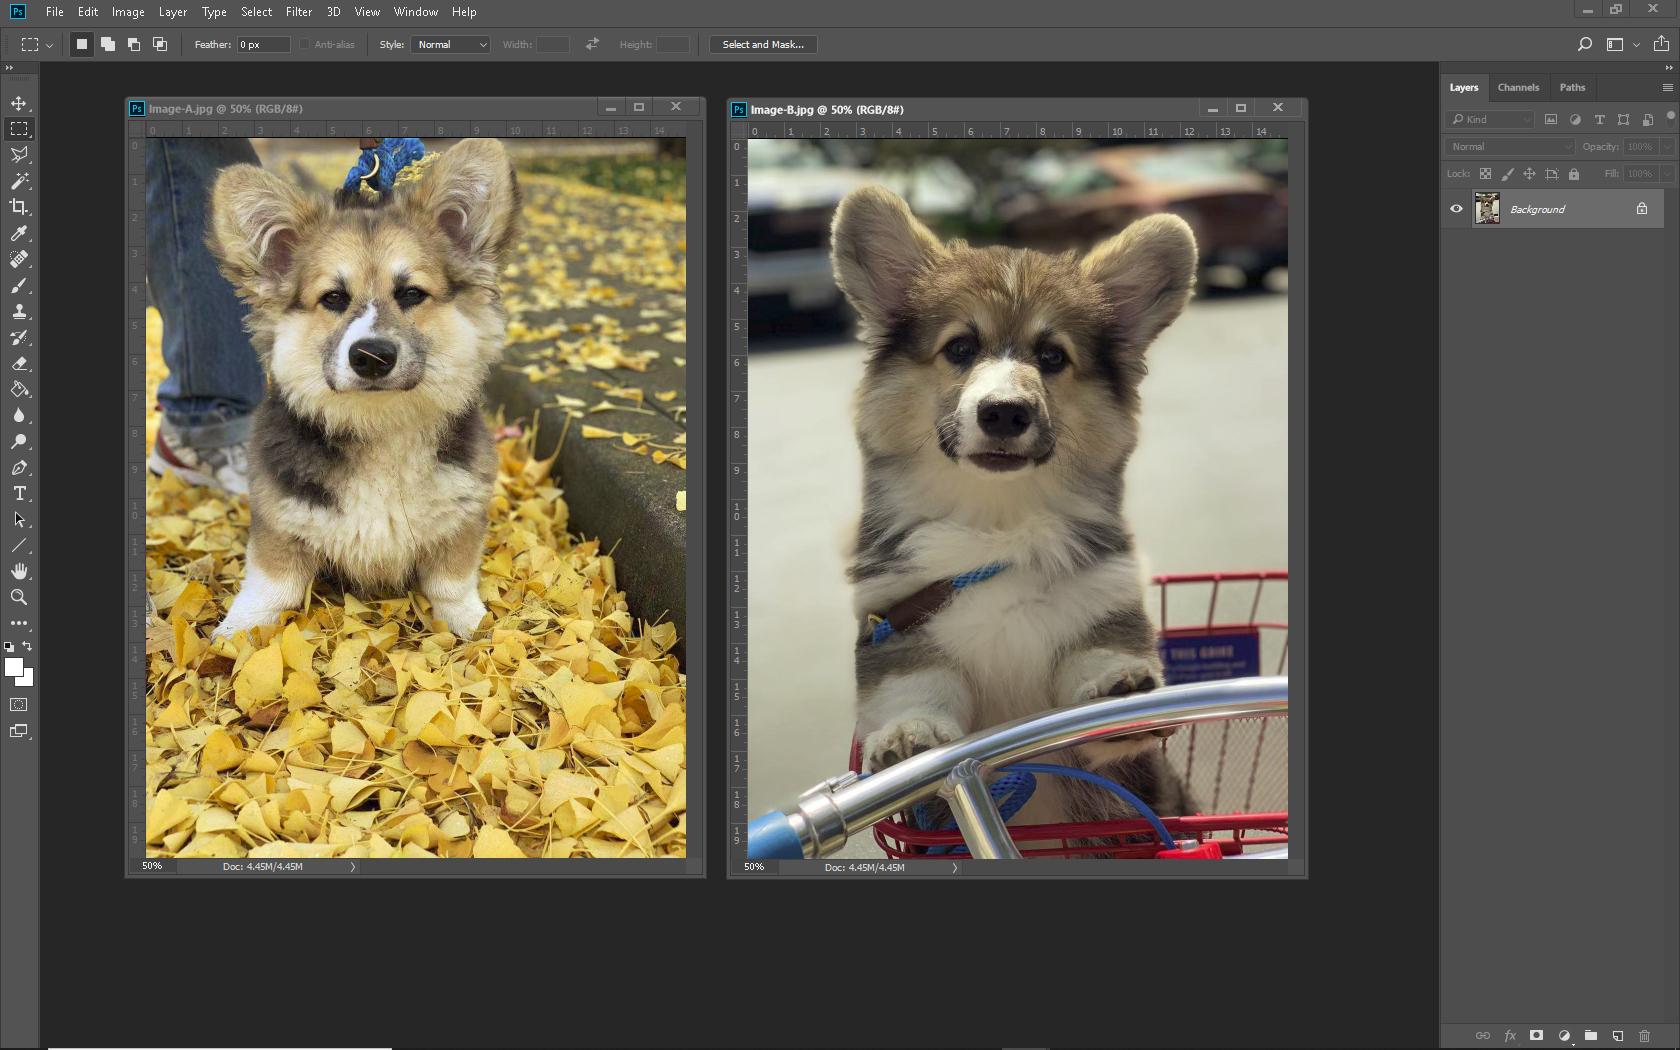
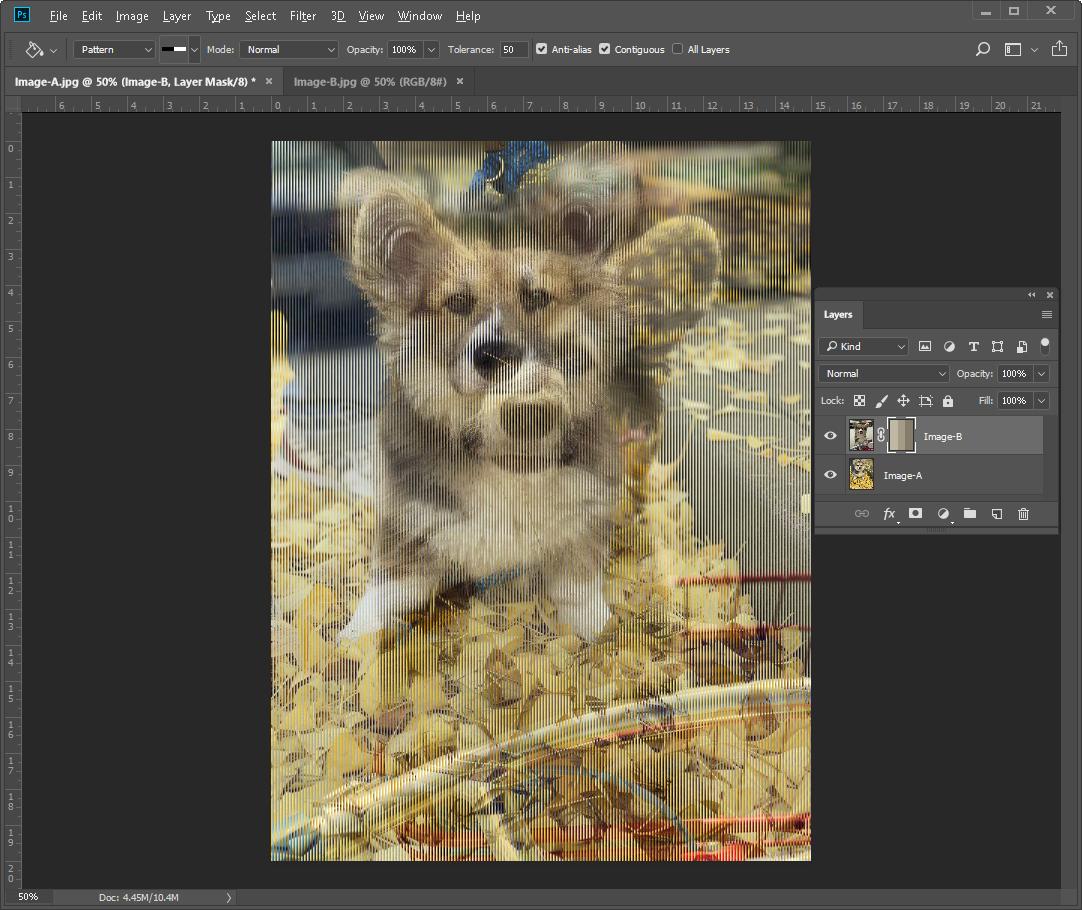
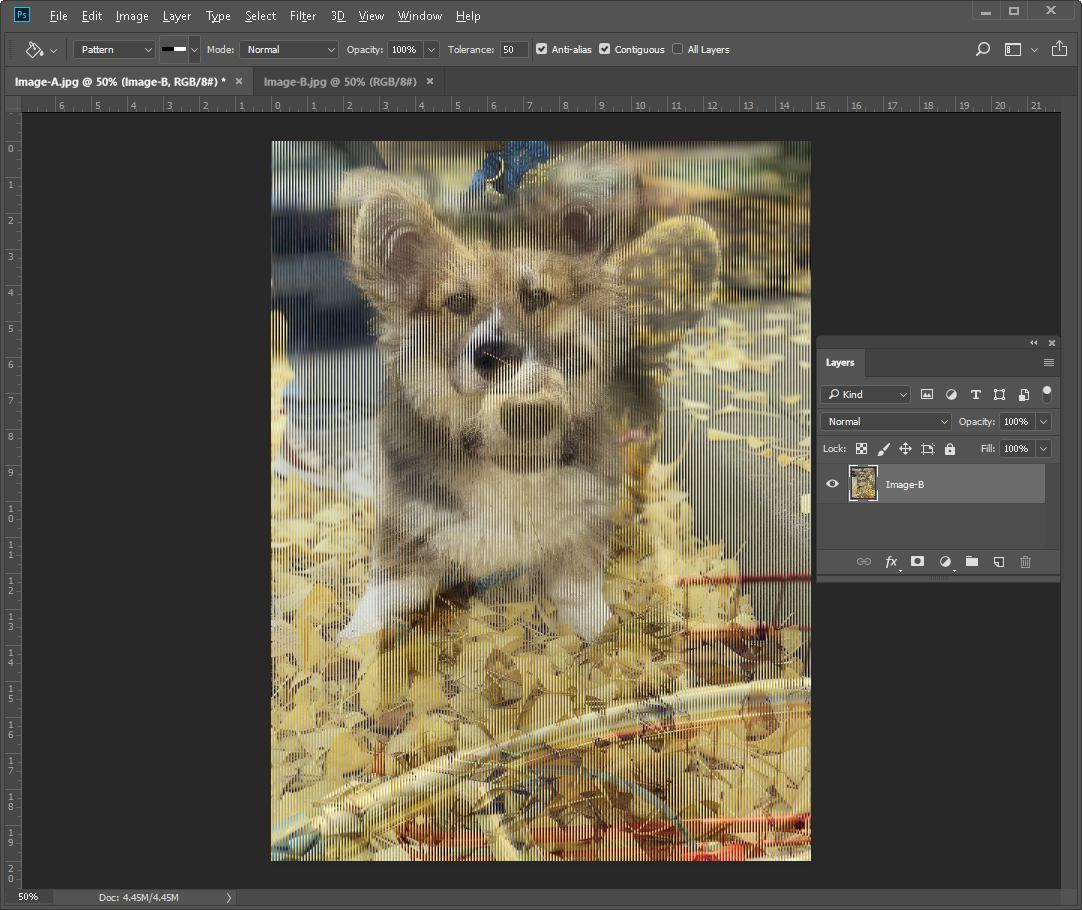
To create the interlaced image just follow these steps using Photoshop.
This depends on what printing equipment you have. We can generalize them as:
For those equipped with a UV printer, the option to mirror the interlaced image and directly print it onto the smooth back side of the lenticular sheet is available. This approach proves especially beneficial when producing large prints in smaller quantities, including posters, murals, signage displays, and more.
If you possess a top-tier offset printer like Heidelberg, equipped with a precise feeding system, you have the capability to reverse the interlaced image and print it directly onto the smooth side of the lenticular sheet. This technique is particularly beneficial for smaller print projects like postcards and business cards due to the precision of offset printing. An added advantage lies in the automation potential, requiring minimal human intervention.
This technique is particularly suitable for standard offset printers without precise feeding mechanisms. It involves printing the interlaced image onto paper sheets and subsequently laminating lenticular sheets over the printed image, using UV glue to secure them together. An operator is then tasked with aligning the sheets before the glue sets. Following alignment, the sheets are placed in a UV-exposed area to dry the glue. It's worth noting that this process can be labor-intensive and is most cost-effective in regions with lower labor costs. It is best suited for smaller print projects like postcards and business cards.
Wide format printers such as the Epson Stylus Pro 9000 series are good starter printers for lenticular printing. These printers are priced from $5K to $10K and are very versatile to make both big and small prints. Using these printers to print interlaced images is perfect for low-volume orders. Double-sided adhesive is normally used to bind the lenticular sheet with the interlaced image on paper.